Make Your Own Soap! A DIY Guide For Beginners

Crafting your own soaps can be a very fun, fulfilling activity. The benefits of this pursuit are too many too count, a symphony of nourishment for both body and soul. You as the soap-maker are the architect of purity, wielding an artisanal mastery over ingredients, fragrance, and texture. Each bar whispers secrets of intention, tailored to suit one's unique desires and sensitivities.
The Delicate Process Of Making Soap
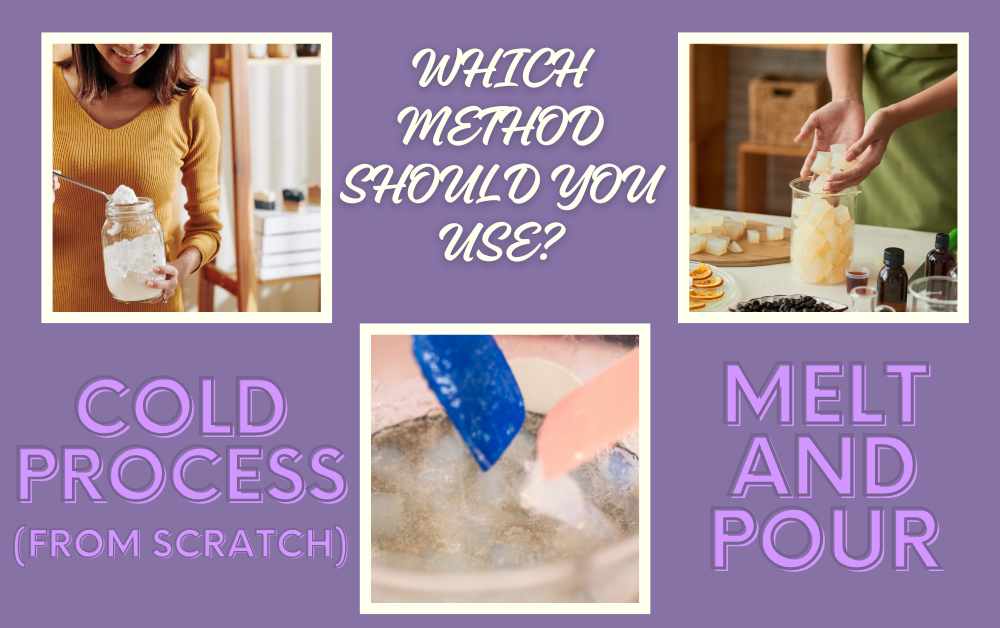
There are two main ways of making your own soap – cold process or melt-and-pour. The cold process method, or “from scratch,” requires weeks of curing and involves converting lye or fats into soap. This is known as the saponification process, and you can learn more about it here, How to Make Your Own Soap From Scratch. For Beginners, we recommend ready-to-use, melt and pour soap bases because the complicated part is done for you. They are widely available, easy to use, and makes soap making fun. This method uses a base (that has already been safely created), and you just melt, add your special ingredients, and pour into a mold. Melt and pour soap contains a high percentage of glycerine, which means it has a highly moisturizing quality that makes it gentler on skin than store-bought soaps. Glycerine is a component of fat or oil and is a natural byproduct of the saponification process. Glycerine attracts moisture and this is what lends soap its moisturizing property.
There are so many benefits to making soap, and almost endless ways to mix and personalize them.
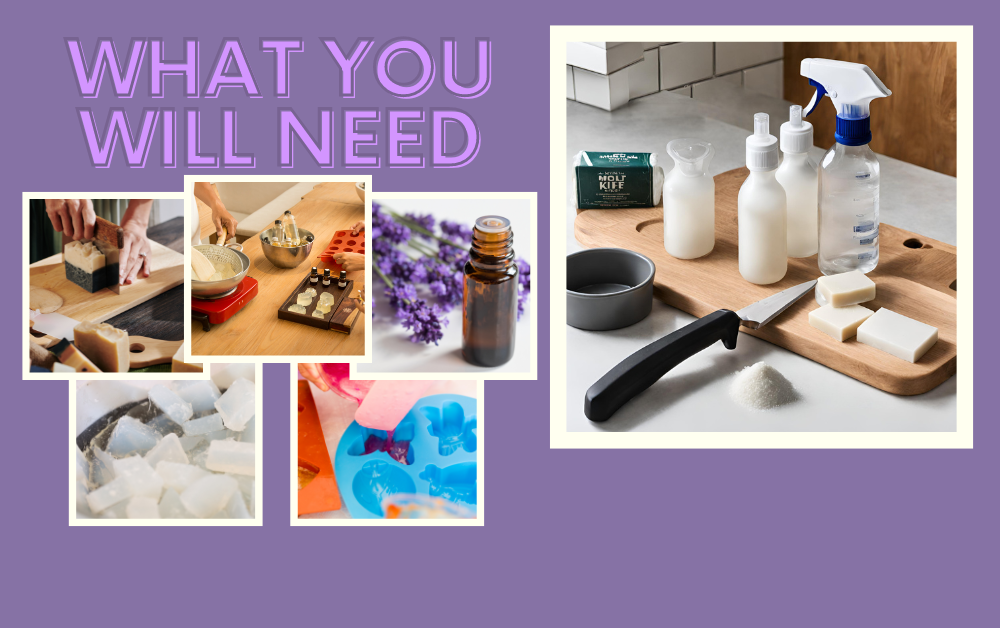
What you need to get started:
Melt and pour soap base
A sharp knife or dough cutter for cutting enough of the base to fit the desired mold after it is melted
A microwave or stove and double boiler or bowl to melt the soap base
A large heat resistant measuring cup that measures 1 litre (4 cups) or a microwave safe bowl in which to place the chopped base for melting
A heat-resistant spoon for mixing the base
Any additive can be included in a melt and pour soap mixture, including fragrances, colourants, skin care nutrients such as herbs, butters, exfoliants, and sparkles and more.
Any kind of heat-resistant mold from which soap can easily be released
A small spray bottle of alcohol
A clean stretch of countertop or table
How Its Done:
Before you start, sterilize your workspace and supplies.
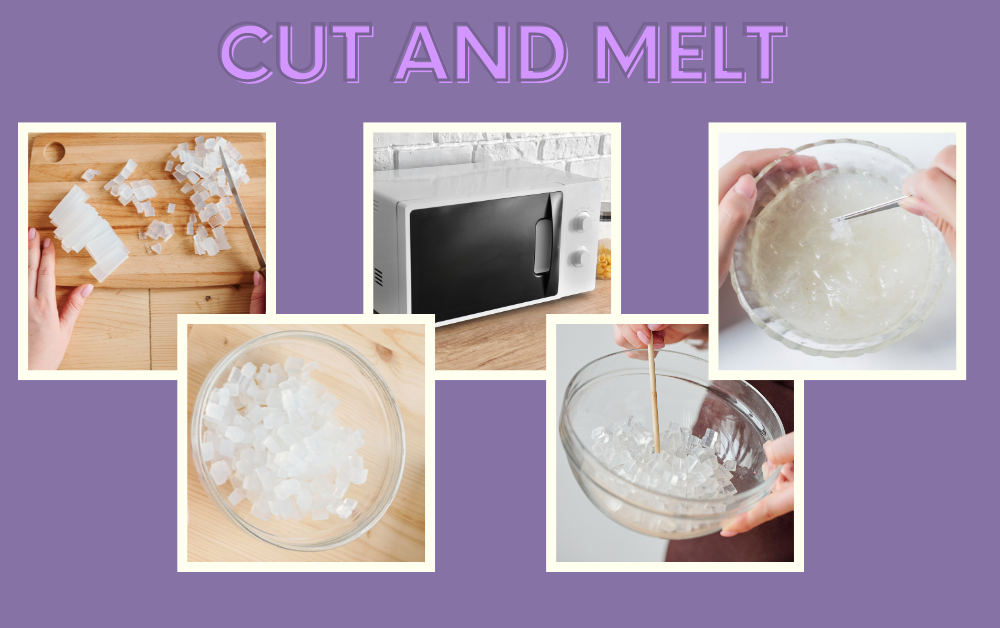
Step 1 Easy as cut and melt.
Each pound (0.45 kg) of soap base will yield 4-6 bars. Cut the desired amount of your chosen soap base into small squares. Place the squares into a microwave safe bowl and heat them at short intervals of 15-20 seconds, stirring gently throughout heating, or, for a more traditional route, use a double boiler. Place the chopped soap base in the inner pan of your double boiler, and stir slowly until almost completely melted. Just before the base is completely melted, remove from the heat. Continue mixing until the heat is evenly distributed in the mixture.
Melt and Pour soap bases can include a wide array of diverse components, such as milks, oils, and other fatty ingredients as well as other raw materials, that allow each base to exhibit unique features, both in terms of physical appearance as well as in terms of how they behave on the skin. For this reason, it helps to have an idea of the desired effect that one hopes to achieve with a soap. Some factors to consider include the color, the clarity, the texture, the amount of lather, the moisturizing capacity and its effects on particular skin types, and the scent
Step 2 The fun part.
First, Remove the soap from the heat source before it is completely melted and continue to stir it until the heat of the mixture is dispersed consistently throughout. At this point, essential oils, fragrance oils, colourants and other additives can be added while the mixture is stirred gently.
Second, Pour the melted soap base into the desired mold, ensuring that it is level. Any bubbles that form can be dispelled with a spray of alcohol. Fragrance oils might cause the soap to “weep,” which means the soap will feel wet and oily, so it is a good idea to do a batch test when using them.
Allow the soap to sit and completely cool inside the mold. This wait time can be a couple of hours long or it can even cool overnight.
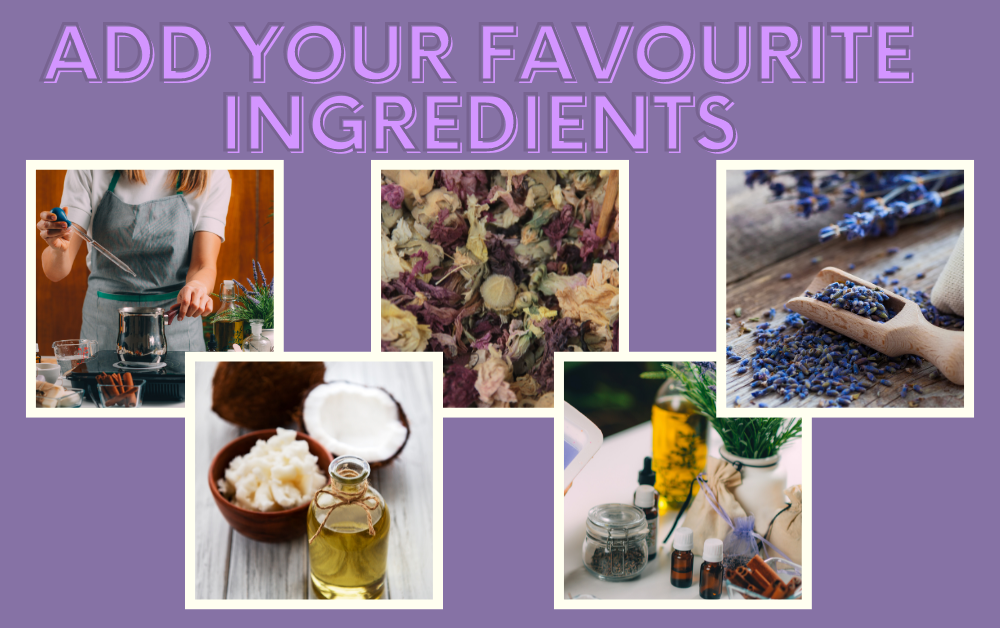
Melt and Pour soap bases can be blended with any type of additive to customize your soap bars. This includes essential oils, fragrance oils, colourants, clay powders, and skin care nutrients such as herbs, butters, and exfoliants.
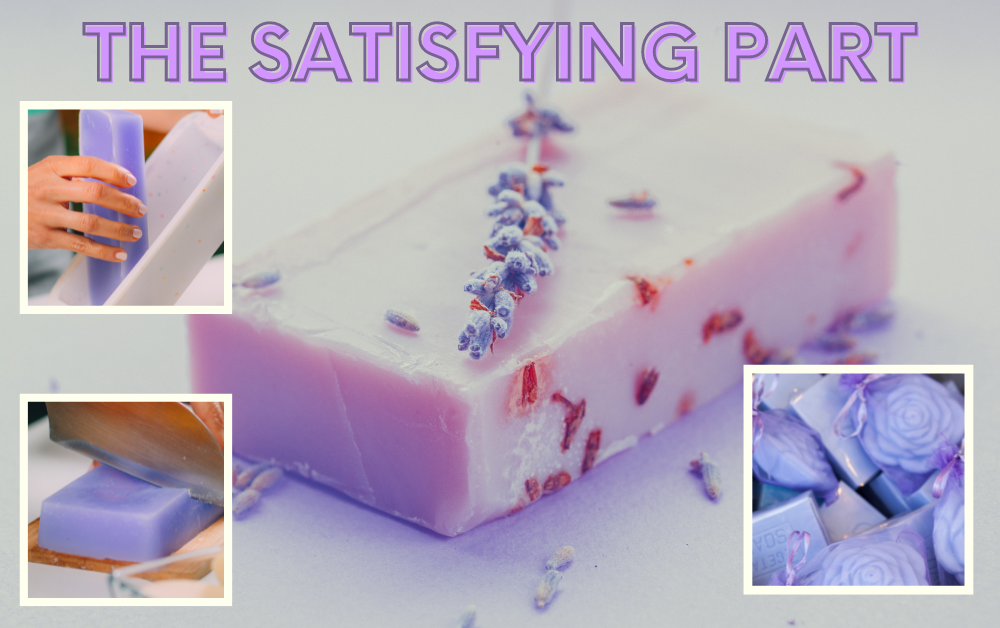
Step 3 The satisfying part.
You will need a clean flat surface and a tea towel. Carefully release the soap from the molds onto you flat surface. The tea towel (or a paper towel) will prevent denting if you are struggling with soaps stuck inside their molds. If your soap gets stuck in its mold, a soap can be further frozen for 15-30 minutes to for easier removal. When you take it out of the freezer, hold the mold under hot water to melt the coating. The soap should then be easily peeled out.
You can smooth any rough edges down with a paring knife and a clean cloth moistened with alcohol.
Air dry your soaps before packaging them. You might get slimy soap if there is moisture trapped inside the packaging. It is best to wrap soap immediately after it has finished cooling, as this will prevent the soap from shrinking because of evaporated water content. Cellophane is ideal for keeping soaps fresh.
Endless experimentation:
You do not need to be a seasoned soap maker to try your hand at homemade soaps. Mix and match your favourite ingredients to make your own unique creations, or try one of our simple recipes below.
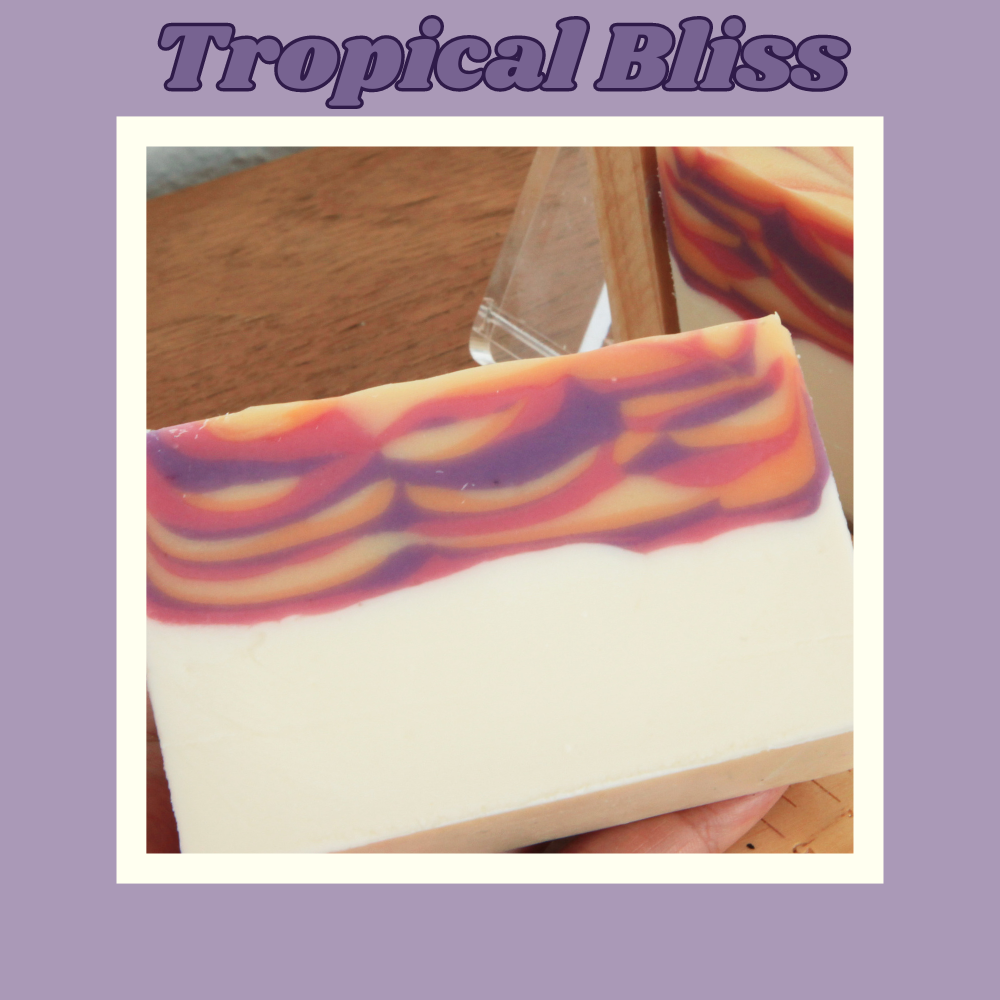
Tropical Bliss Soap:
Soap Base:Coconut Milk Soap
Essential Oils:Coconut, Pineapple, and Lime
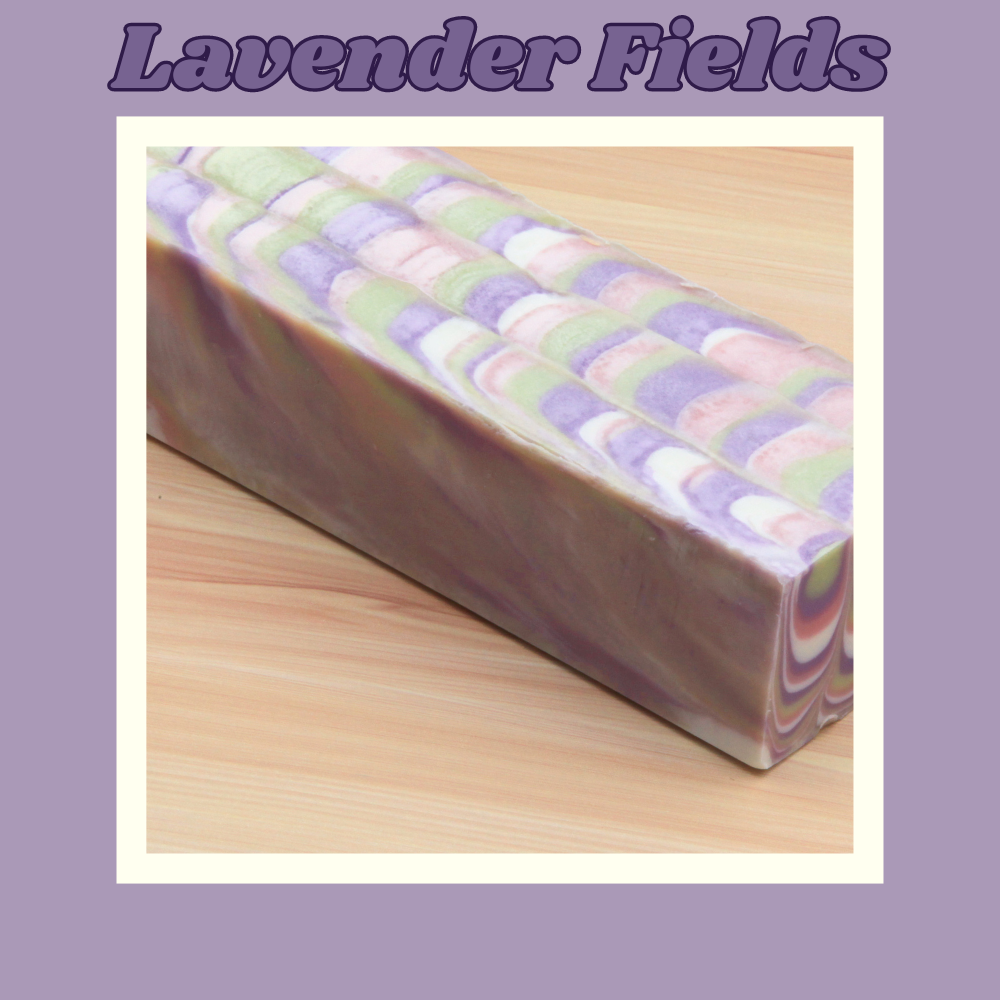
Lavender Fields Soap:
Soap Base:Shea Butter Soap
Essential Oils:Lavender and Chamomile
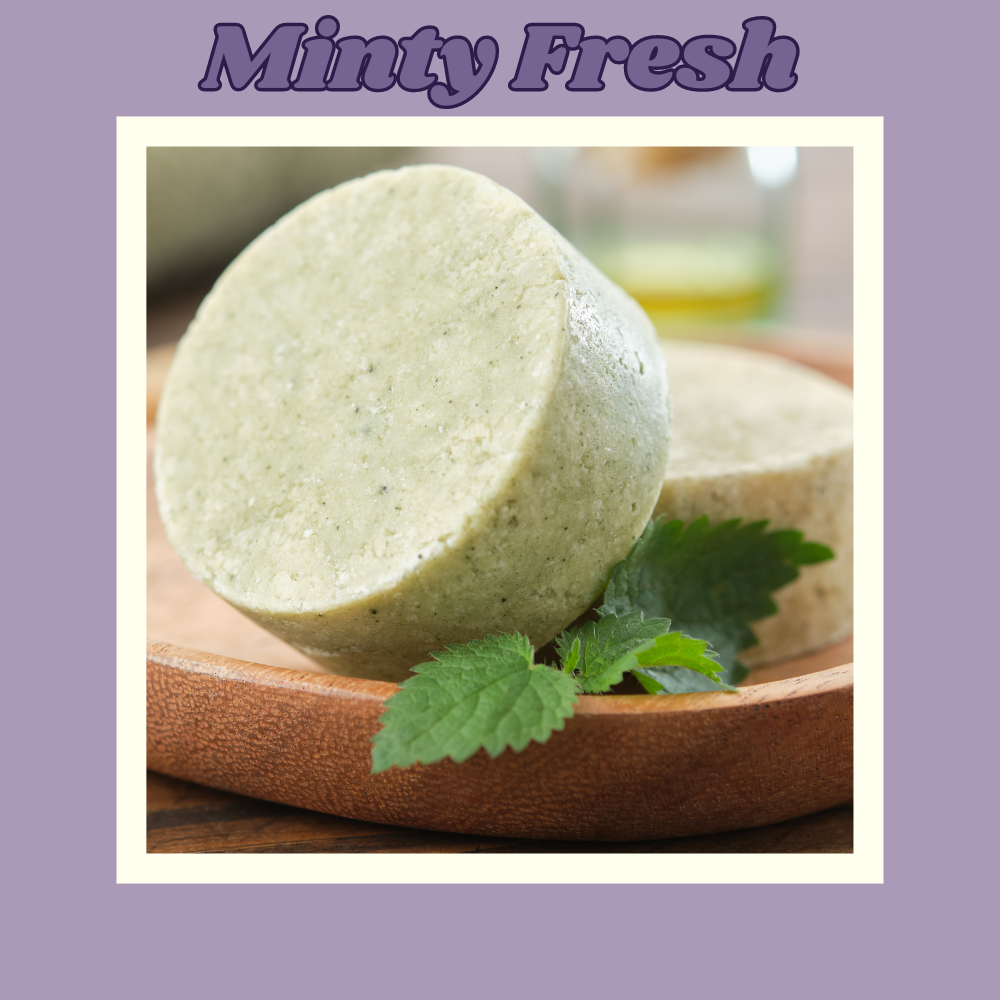
Minty Fresh Soap:
Soap Base:Peppermint Castile Soap
Essential Oils:Peppermint and Eucalyptus
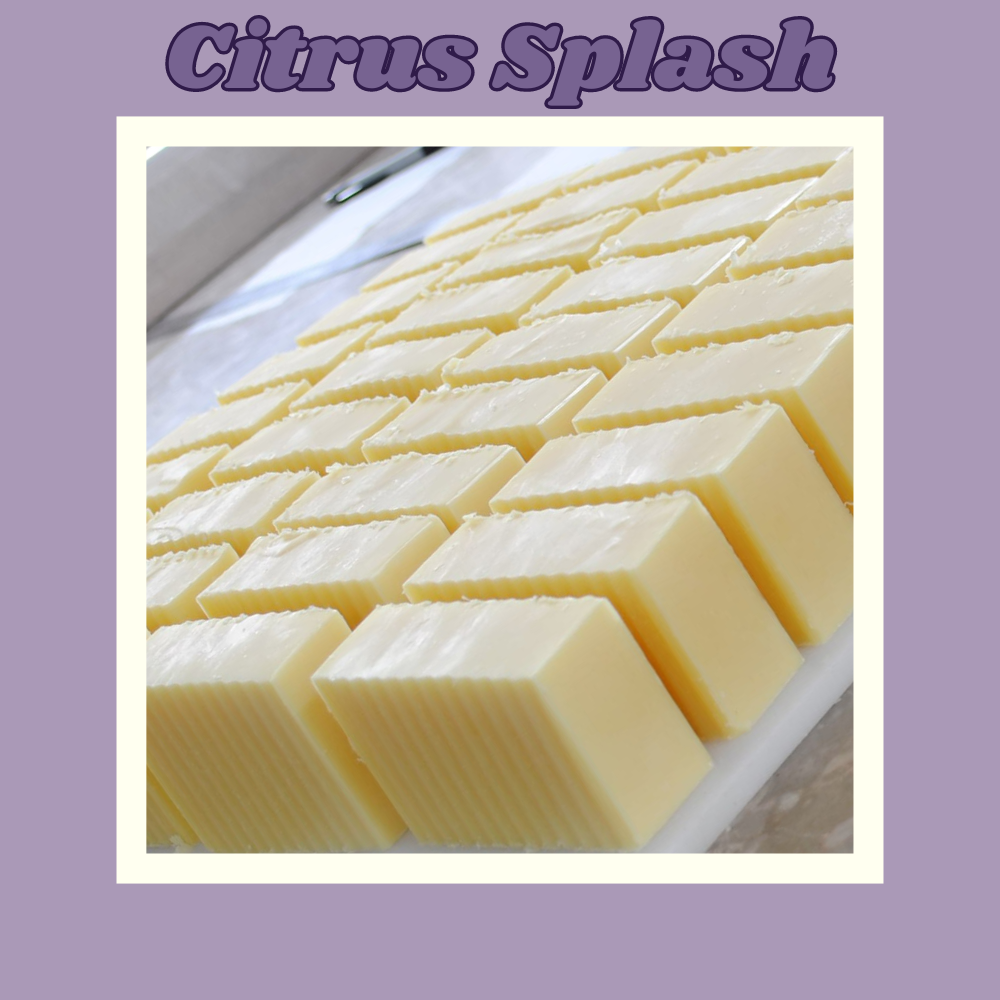
Citrus Splash Soap:
Soap Base:Clear Glycerin Soap
Essential Oils:Orange, Lemon, and Grapefruit
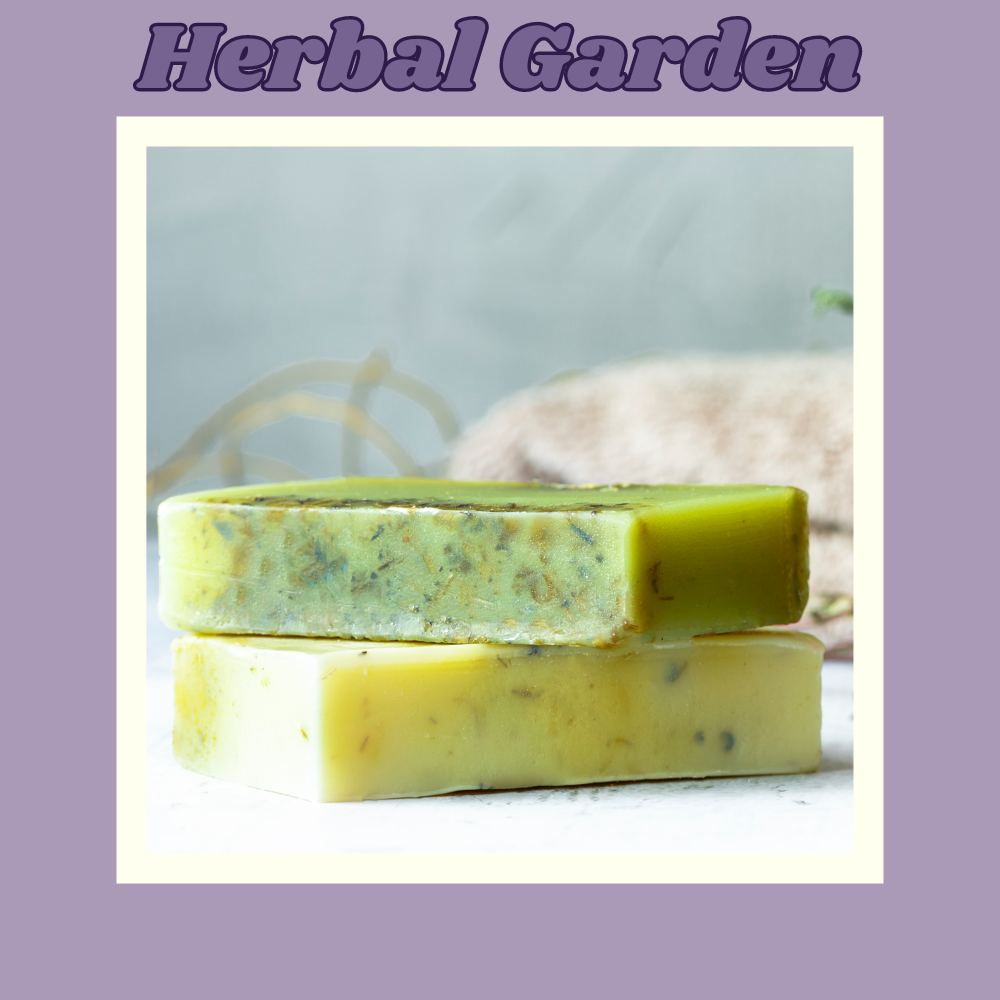
Herbal Garden Soap:
Soap Base:Olive Oil Soap
Essential Oils:Rosemary, Sage, and Thyme
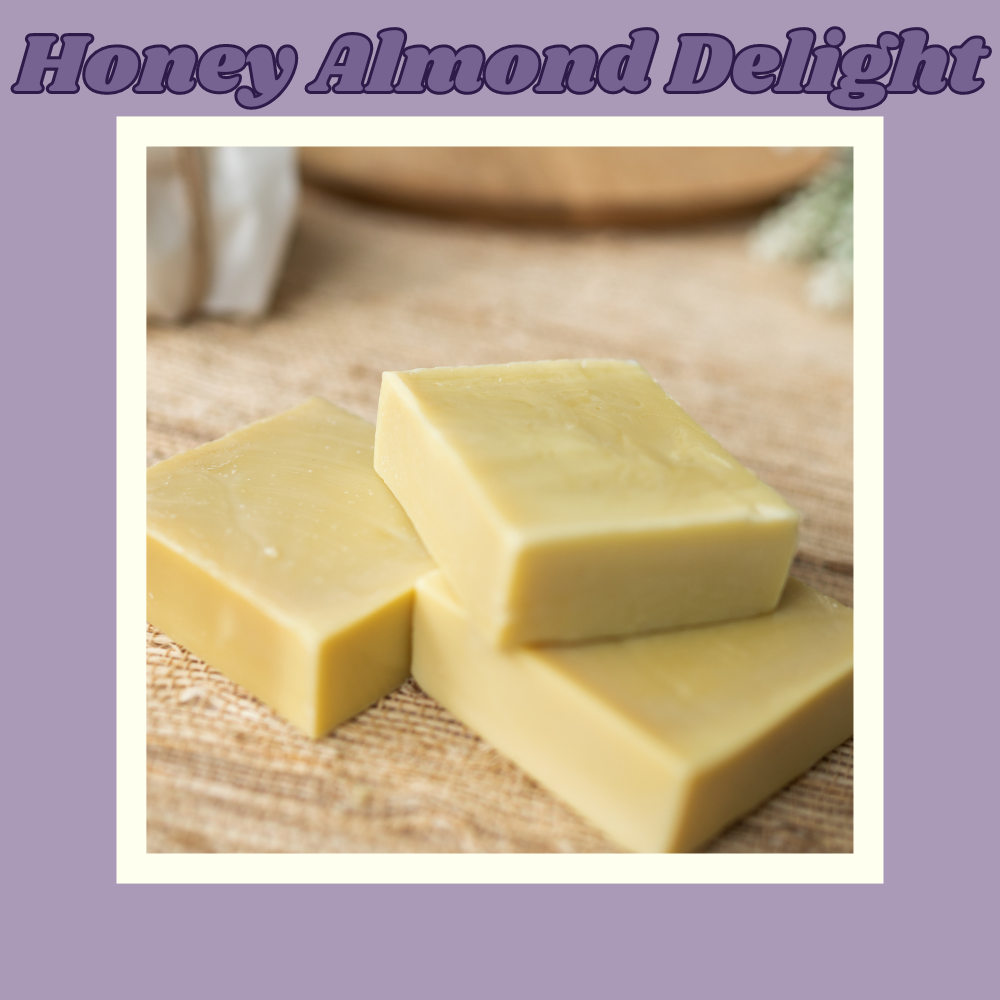
Honey Almond Delight Soap:
Soap Base:Goats' Milk Soap
Essential Oils:Sweet Almond and Honey
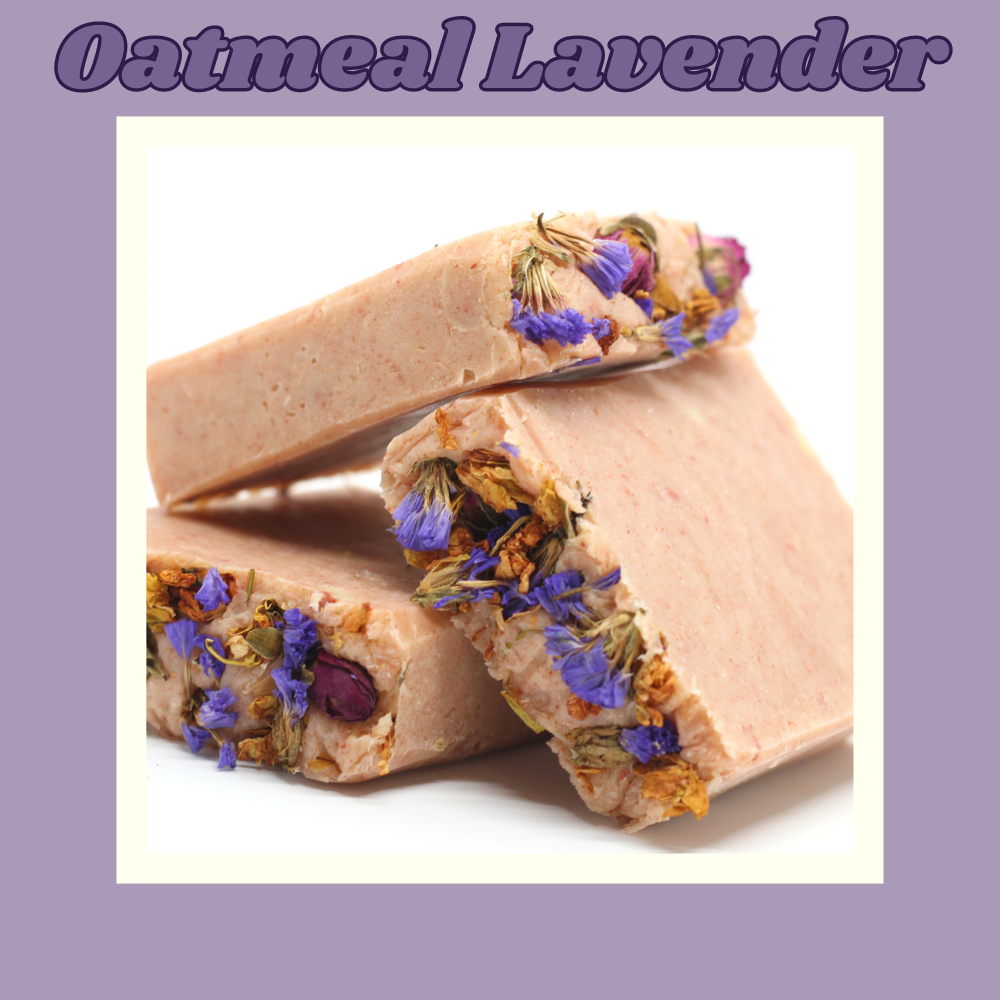
Oatmeal Lavender Scrub Soap:
Soap Base:Oatmeal and Honey Soap
Essential Oils:Lavender and Tea Tree
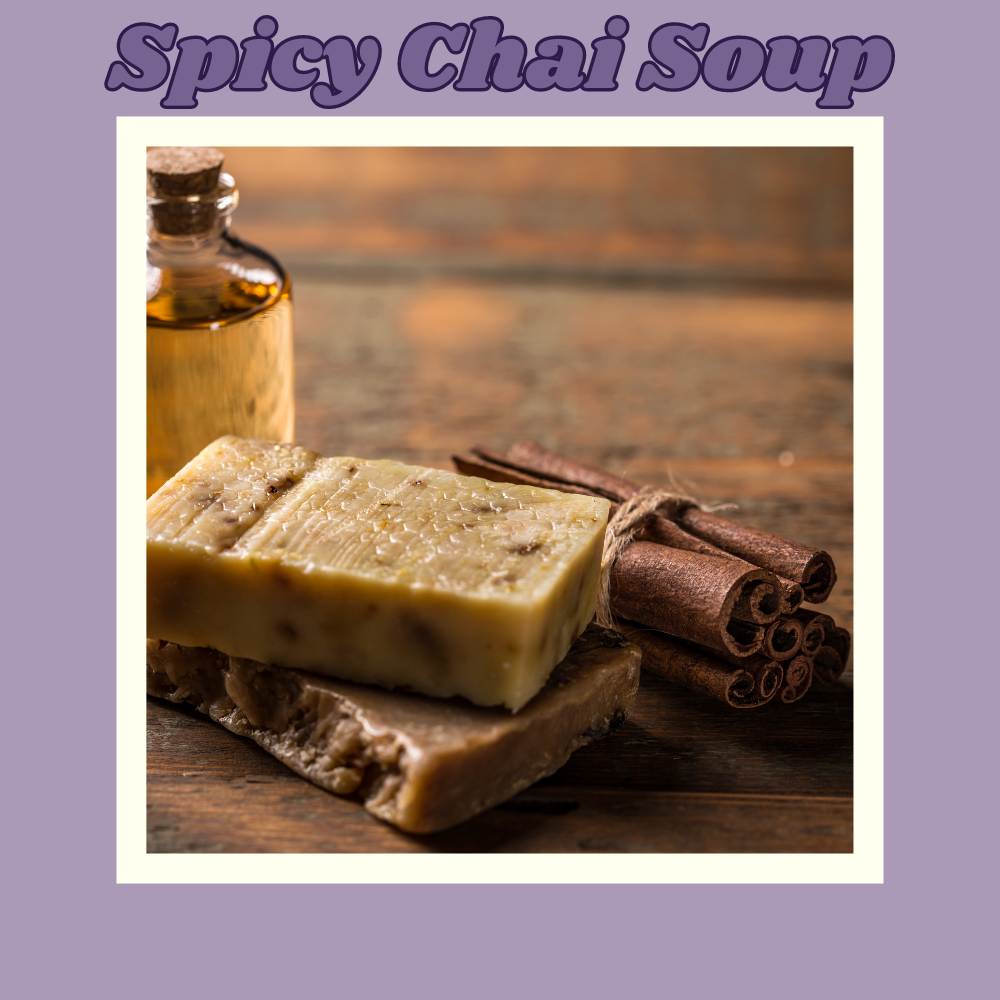
Spicy Chai Soap:
Soap Base:Chai Tea Soap
Essential Oils:Cinnamon, Cardamom, and Clove
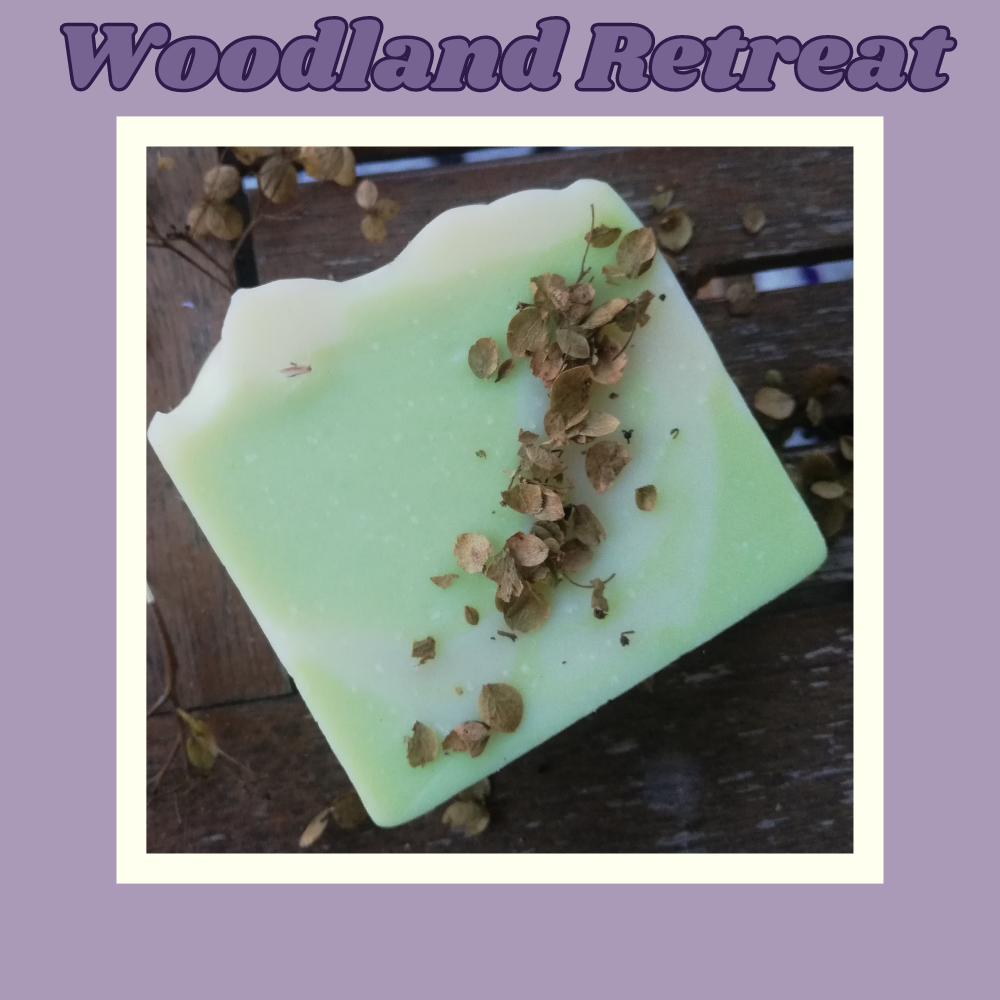
Woodland Retreat Soap:
Soap Base:Cedarwood and Pine Tar Soap
Essential Oils:Cedarwood and Fir Needle
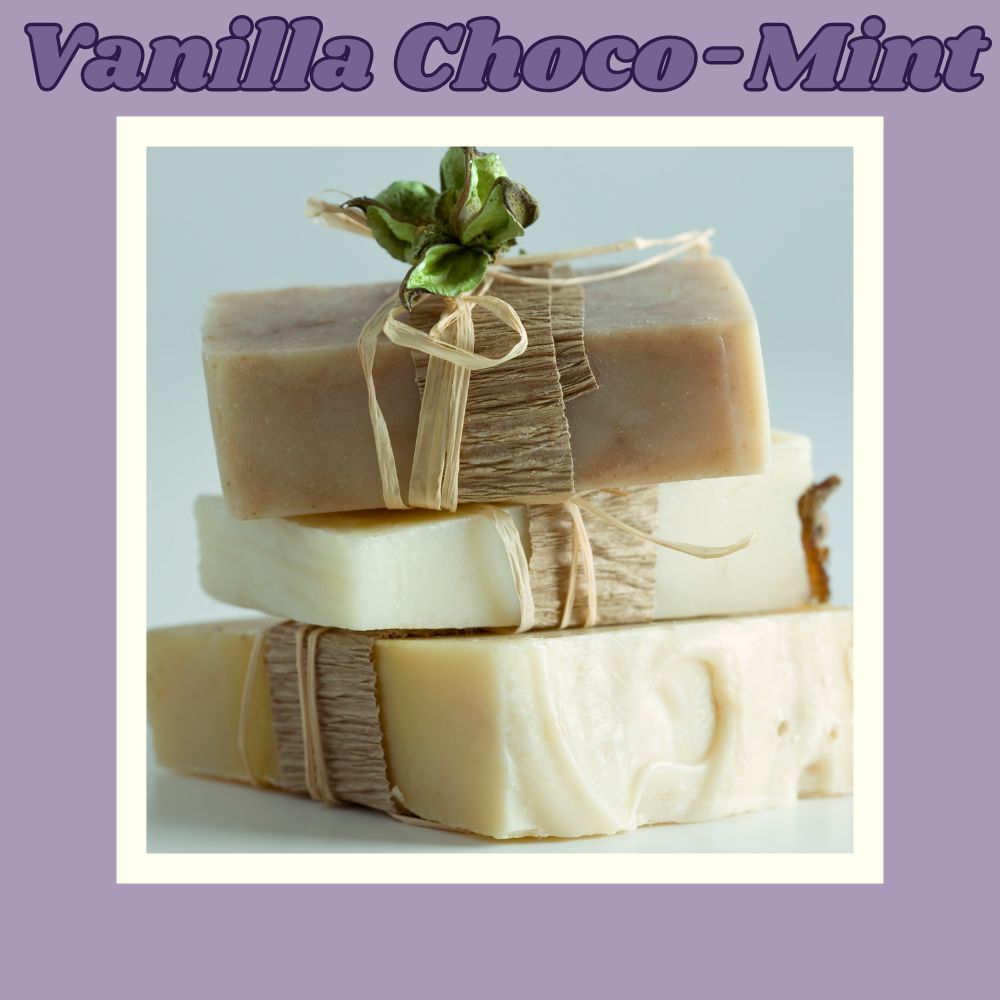
Vanilla Choco-Mint Soap:
Soap Base:Cocoa Butter Soap
Essential Oils:Vanilla and Peppermint
Tips & Tricks:
If bubbles arise in your soaps, they can be dispersed with a spritz of alcohol from your spray bottle.
For your molds, avoid using hard plastic or metal, which can react with and discolour soap ingredients.
Fresh ingredients such as fruits, vegetables, or milk are best avoided in a melt and pour soap recipe, as they will always spoil eventually.
When exposed to humidity, melt and pour soap tends to “sweat,” because the glycerin attracts moisture from the air, so they must be kept as dry as possible on well-draining surfaces.
To ensure that soaps will be easily released from their molds, a coating can be applied to the molds. Silicone brushes found in the cooking section of your local dollar store are great for this.
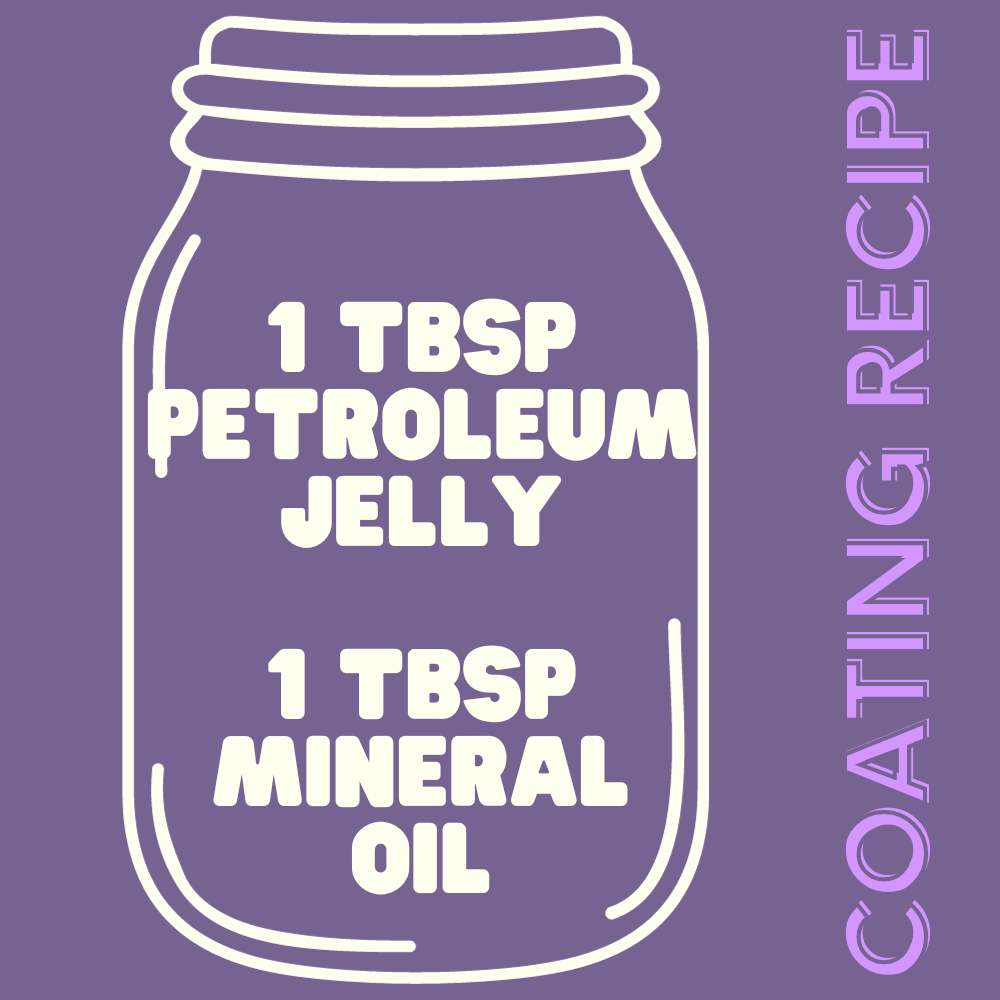
Coating Recipe: Gently heat the following ingredients: 1 tbsp petroleum jelly 1 tbsp mineral oil (baby oil) This mixture can be kept in a jar and can be spread onto molds with a small pastry brush to lightly coat the molds.
Just remember to be safe!
It is painful when skin is exposed to hot soap; only heat-safe equipment should be used to make soap as the melting temperatures generally reach above 48 o C (120 o F).
Too much of an additive might lead to issues such as the breakdown of chemical bonds or it might require the use of preservatives, before incorporating any additive into a soap recipe, it is important to understand the amount that can be safely used.
Please note, the International Federation of Aromatherapists do not recommend that Essential Oils be taken internally, unless under the supervision of a Medical Doctor, who is also qualified in clinical Aromatherapy. In addition, Essential Oils must be properly diluted before use, in order to avoid any damages to property or adverse physical effects (including injury or bodily harm).
This article is for information purposes only. All Ezzential Oils products are for external use only unless otherwise indicated. This information is not intended to diagnose, treat, cure, or prevent any disease, and it should not be used by anyone who is pregnant or under the care of a medical practitioner. Please refer to our policies for further details, and our disclaimer below.


