How to Make Soap from Scratch

To craft one's own soap is to embark on a sublime odyssey, an artistry that marries science with intuition.
Welcome to the transformative alchemy of soap making. Making your own soap elevates your everyday rituals into a profound act of self-care, offering a salve for the senses and a balm for the spirit. While the benefits of this pursuit are many, the process can be a little tricky. Don’t worry, though, below is a step-by-step guide that anyone can follow. You only need to know about two things first:
The saponification process
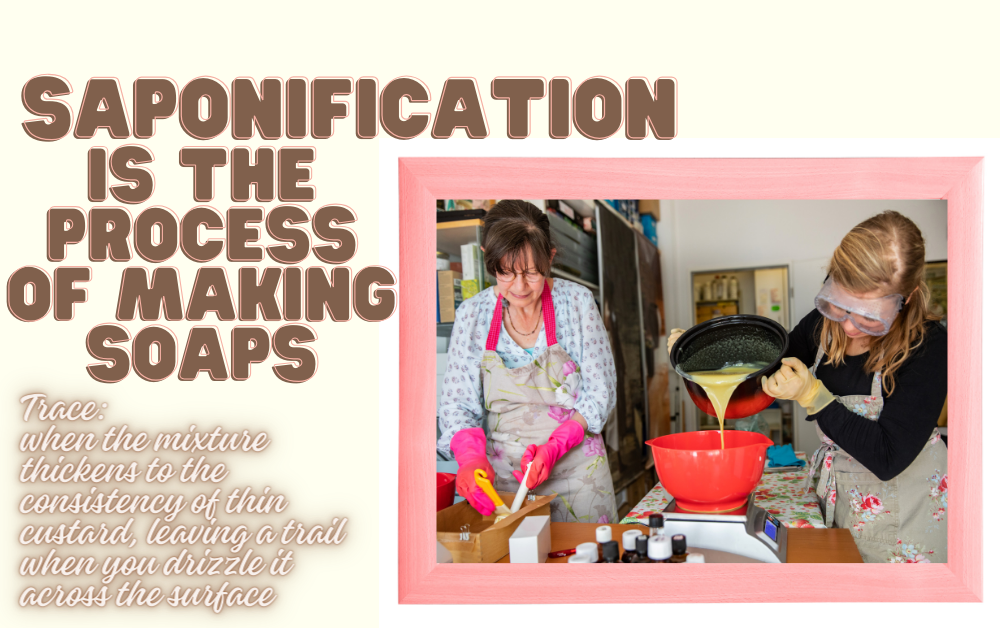
Saponification is simply the process of making soaps. Soaps are just potassium or sodium salts of long-chain fatty acids. During saponification, ester reacts with an inorganic base to produce alcohol and soap. It sounds more complicated than it is. You basically mix lye and oils together at the right temperature until they reach trace. Trace is when the mixture thickens to the consistency of thin custard, leaving a trail when you drizzle it across the surface.
Once both the lye solution and oils are at the right temperature, slowly pour the lye solution into the oils.
Use a stick blender to mix them together until they reach "trace."
Now CURE TIME is different. The amount of time it takes for the salt crystals to form from the fats and oils takes typically 4–6 weeks. During this time, the remaining water also evaporates making the bar last longer. The hot process method the lye is used up and the salt crystals are forming already. The water just has to evaporate!
Some soaps require a much longer cure time. Olive oil is a great example. It benefits from a 6 month to 12 month cure time to be it’s best. You can shorten the time it takes to cut an olive oil soap by doing what is called a water discount but it still needs that long time to turn it’s long chain fatty acids into the salt of olive.
The Zap Test
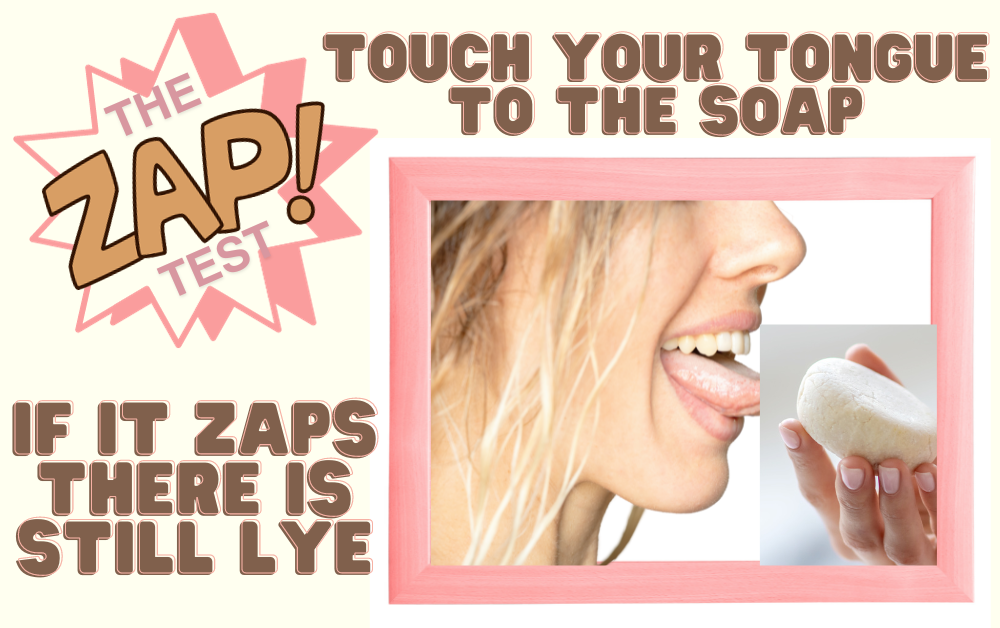
How do you know when your homemade soap is done saponifying? Perform the tried and true Zap Test - This involves touching the soap with your tongue, if it zaps or tingles, it means that there is still some lye (alkali) present and the soap is not yet fully saponified. If it doesn't zap, the saponification process is complete and the soap is safe to use. Another way to tell if saponification is complete is to use a pH test strip. A fully saponified soap should have a pH between 9-10.
Making soap from scratch can be a rewarding and creative hobby. Here's a step-by-step guide for beginners to make homemade soap using the cold process method. Safety is essential, so be sure to wear protective gear, work in a well-ventilated area, and follow safety precautions throughout the process.
Materials You'll Need:

1. Safety Gear:
Safety goggles
Rubber gloves
Long-sleeved clothing
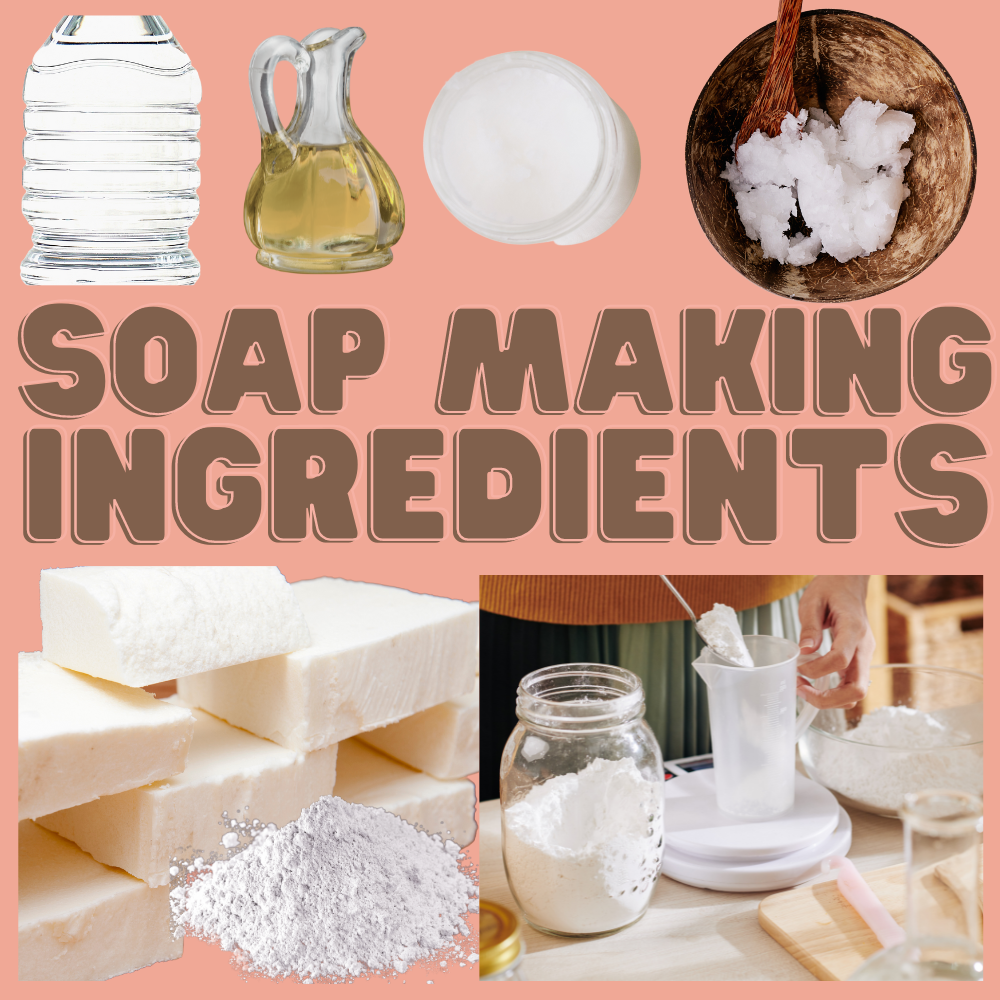
2. Soapmaking Ingredients:
16 ounces (450 grams) of coconut oil16 ounces (450 grams) of olive oil
8 ounces (225 grams) of palm oil
13.5 ounces (380 grams) of distilled water
4.8 ounces (135 grams) of sodium hydroxide (lye)
Fragrance or essential oils
Colorants (optional)
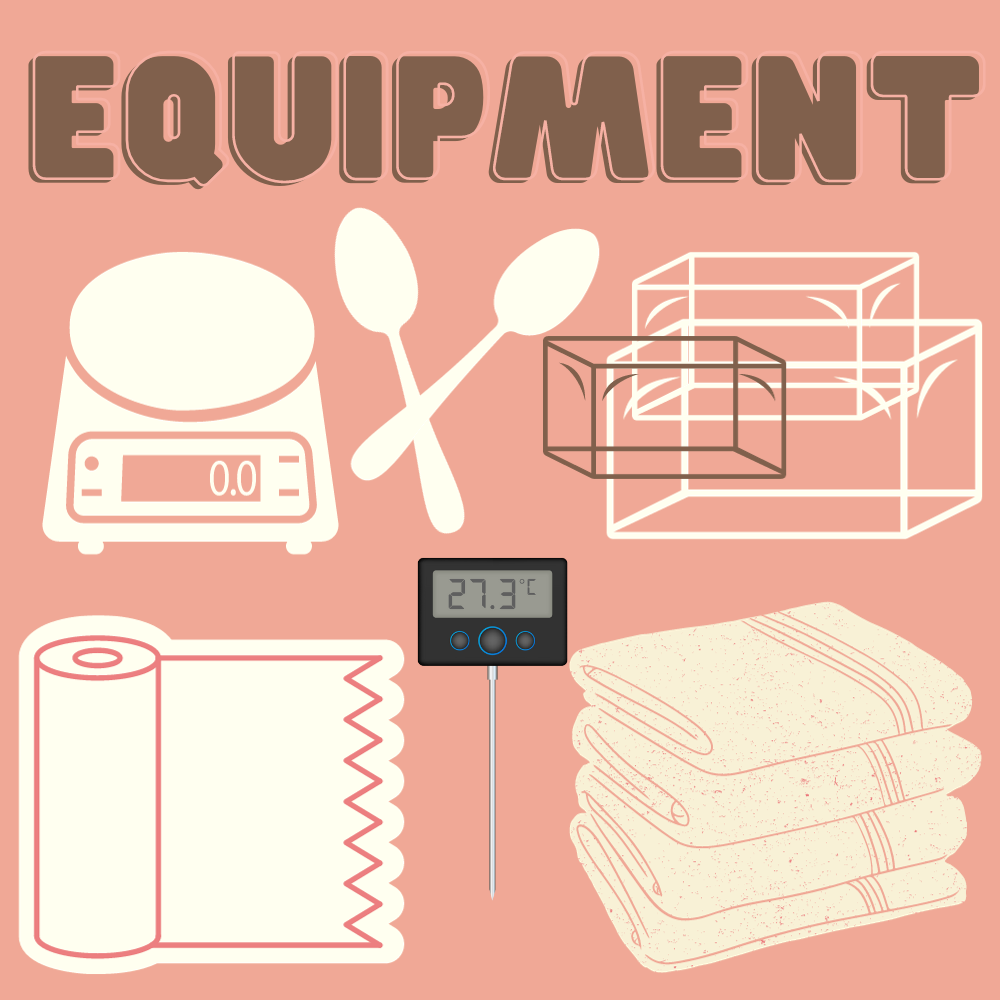
3. Equipment:
Digital kitchen scaleHeat-resistant glass or plastic containers for lye and oils
Stainless steel or plastic spoon for stirring
Stick blender (optional but highly recommended)
Soap mold (wooden, silicone, or plastic)
Thermometer
Plastic wrap or parchment paper
Towels or blankets
Step-by-Step Guide:
1. Safety First:
Put on your safety gear: goggles, gloves, and long-sleeved clothing.
Ensure you're working in a well-ventilated area away from children and pets.
2. Measure Your Ingredients:
Use a digital kitchen scale to weigh the oils, water, and sodium hydroxide accurately.
3. Prepare the Lye Solution:
Pour the distilled water into a heat-resistant container.
Slowly add the sodium hydroxide to the water while stirring gently and continuously. NEVER add water to lye; always add lye to water.
This mixture will get very hot and release fumes. Allow it to cool to around 100-110°F (37-43°C).
4. Prepare the Oils:
In a separate heat-resistant container, melt the coconut oil, palm oil, and olive oil together until they reach a temperature of 100-110°F (37-43°C).
5. Mix the Oils and Lye:
Once both the lye solution and oils are at the right temperature, slowly pour the lye solution into the oils.
Use a stick blender to mix them together until they reach "trace." Trace is when the mixture thickens to the consistency of thin custard, leaving a trail when you drizzle it across the surface.
6. Add Fragrance and Color (Optional):
If desired, add fragrance oils or essential oils for scent and colorants for a more appealing look. Stir them in thoroughly.
7. Pour into Mold:
Pour the soap mixture into your soap mold. Tap the mold gently on a countertop to remove air bubbles.
8. Insulate and Cure:
Cover the soap mold with plastic wrap or parchment paper.
Wrap the mold in towels or blankets to insulate it and keep it warm.
Let the soap sit undisturbed for 24-48 hours to complete the saponification process.
9. Cut and Cure:
After 24-48 hours, check if the soap has hardened. If it's firm, remove it from the mold and cut it into bars.
Place the bars on a rack or tray in a cool, dry place to cure for 4-6 weeks. This allows the soap to become milder and harder.
10. Enjoy Your Homemade Soap:
Once cured, your homemade soap is ready to use. Enjoy the natural, handmade goodness!
Remember that working with lye can be dangerous, so always follow safety precautions. Once you gain experience, you can start experimenting with different oils, scents, and designs to create unique and beautiful handmade soaps.
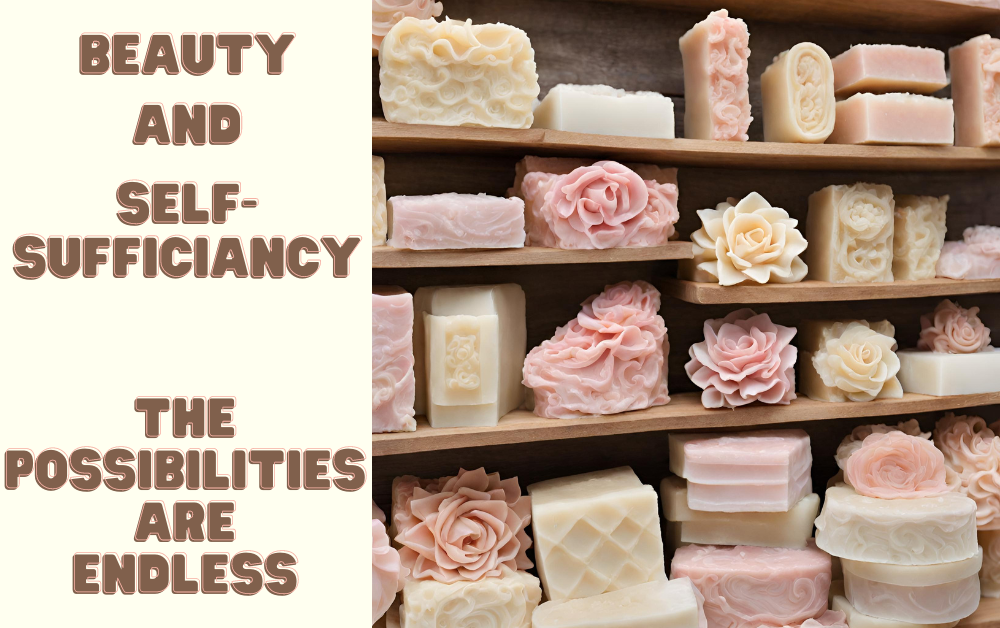
In the quiet sanctum of the soap-making realm, one discovers a transformative alchemy that transcends the quotidian routines of life. The benefits of this pursuit are manifold, a symphony of nourishment for both body and soul. The bespoke soap-maker is the architect of purity, wielding an artisanal mastery over ingredients, fragrance, and texture. Each bar whispers secrets of intention, tailored to suit one's unique desires and sensitivities. Yet, it is not merely a matter of vanity that beckons us to this craft; The soap-maker, a maestro in a world of cleansing, In the creation of soap, we rediscover our harmonious place within the greater symphony of existence, where simplicity becomes artistry
Making your own soap really is a testament to self-sufficiency, a rejection of mass-produced mediocrity, and a celebration of our connection to nature. Enjoy and share your creations, as each sudsy bubble harbours the promise of renewal.
If you enjoyed this article, but you would like a simpler process, check out our article Make Your Own Soap! A DIY Guide For Beginners. It features ready to use melt-and pour soap, making soap making easy, fast and a little more fun.
Safety Information
Please note, the International Federation of Aromatherapists do not recommend that Essential Oils be taken internally, unless under the supervision of a Medical Doctor, who is also qualified in clinical Aromatherapy. In addition, Essential Oils must be properly diluted before use, in order to avoid any damages to property or adverse physical effects (including injury or bodily harm).
This article is for information purposes only. All Ezzential Oils products are for external use only unless otherwise indicated. This information is not intended to diagnose, treat, cure, or prevent any disease, and it should not be used by anyone who is pregnant or under the care of a medical practitioner. Please refer to our policies for further details, and our disclaimer below.


